

I was actually already able to make this before but I wasn't able to document it. Also, I just used a makeshift rod and it was both the prettiest and ugliest thing in my room for some time. Haha. Fortunately, I was finally able to go to Divisoria again and and I bought a rattan ring. I think my friends were puzzled what I needed that for and this is the answer. Ha.
I've been reorganizing again and again in my room, shuffling furniture around, and I finally want to hang this macrame in this area right here:

This design project is super simple I'm thinking of gifting this to my friends for Christmas :)) Materials needed for this are the following:

The rope from Ace Hardware was kind of pricey at Php200+ if I remember correctly. This rattan ring is only P25 and the adhesive hooks are only less than P30 for 1 set from Japan Home.
The first step I did is optional, but I stained the ring using Bronco Oil Wood Stain in American Walnut. Yes, this is the wood stain I used in all my wood projects (frames, belt hanger, other DIY's that didn't reach the blog, etc. etc) because the can is still full and I think I can use this forever :))

I wanted to transfer the macrame I previously made to the ring but there's no possible way to do it without dismantling the whole thing. So...

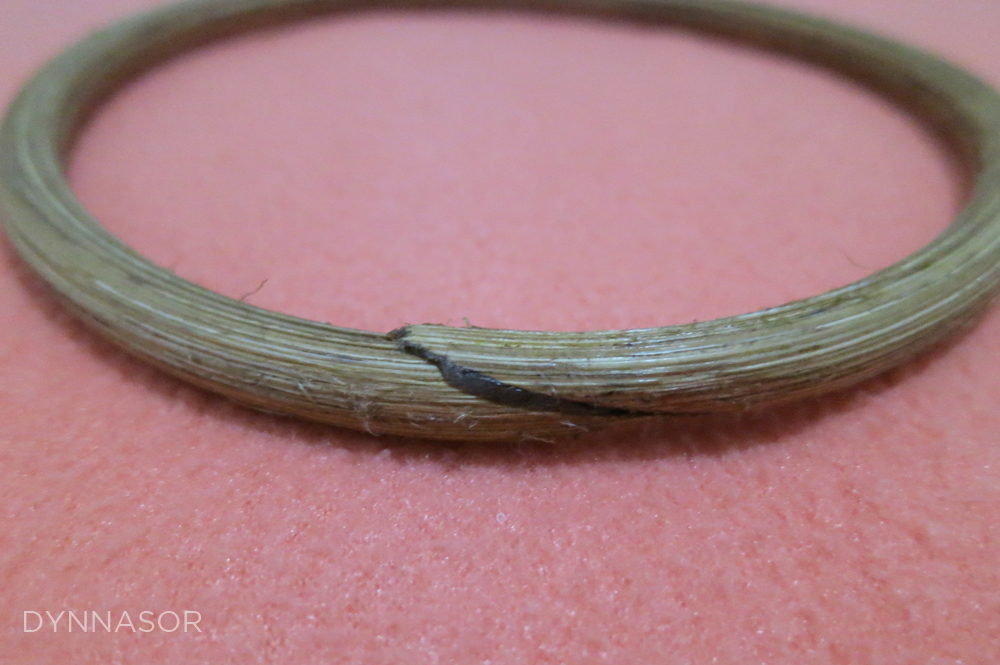
I'm using 12 strings, at 80 inches each (I thiiiiiiiink). For the ring, use the ugliest side so it'll be covered up:
Fold your string in half, have the lose end go under the ring, loop and insert to a hoop you created with the non-lose end. Whew. In short, loop your string like this:

Hahahaha I'm now scared how I'll explain the rest of the instructions :))) After looping all 12 strings, you'll have this:

You'll be working with the first 4 strings on the left:

Get your first string, have it go over the next 2 strings, and under the last string like this:

Now get your last string, have it go under the 2nd and 3rd strings (to its left) then insert it to the loop the first string created:

Tighten it and you'll have this:

Continue working with the next 4 strings doing the same process...

And finally...

For the next layer, leave out the first 2 strands, and work with the 3rd to 6th strands.

Continue the process horizontally, leaving the last 2 strands.

Continue doing it until you get tired. Hehe. I chanted "over over under...under under loop" the whole time I was doing this. You might wanna try it also :))

I got bored with the design so I tried experimenting and tried a different pattern but still using the same knots...

Lastly, I cut off some excess strands, and you're done yaaaaay

Just hang it on the adhesive hook (which needs 24 hours before hanging anything on it)


Yaaaay. I'm now looking for other excuses to make more of these haha! :)
No comments:
Post a Comment