I've been wanting to hot glue gun something for some time now and after seeing this from YouTube, I wanted to try it out for myself. I started this project not knowing where I and if I would use it, but glad that I did try. I couldn't go out to buy large popsicle sticks for this project because we had a looooong holiday, so I rummaged my mom's classroom for some. Haha.
First is glue together 3 sticks that will make half of your hexagon.
I tried different techniques but the best one I got, to make a symmetrical shape, is layer your 2nd half on top of the first one you made. Not gluing them together, but just using it as a guide so that when you lay the 2 halves side by side, they are perfectly pantay.
And then glue the 2 parts together.
Glue sticks alternately so that it will be level once you're done. Continue adding sticks until it's the thickness / depth you like.
I used 10 sticks on each side, for a total of 60 sticks per hexagon shelf. You can of course do this with bigger sticks so that the space inside will be bigger too. Or you can paint your sticks to your color of choice as well. I wanted the raw wood look so I stayed with this one.
I squealed a little when I tried to make it stand on its own and it did :)) At this point, I still had no idea what I want to do with these until...
I already had 5. Haha. I could improve more on the shape, I know :)) I looked around my room hoping to find a place for these babies and thought of putting it up with my current photo display.
I'm someone who DIY's without planning too much and just goes where a certain project will lead me. Hence the photo below :))
I texted this photo to the boyfriend and he was like, hmmm it's not right :))) I then thought of using a black & white fabric I recently purchased from ukay-ukay. I grabbed the thickest paperbag I have (relative to the other bags in my stash) and thought of covering it with the said fabric.
I cut them into hexagon shapes too.
I actually ended up with three pieces, I used another paper bag for the third one. And covered it with this fabric using hot glue.
And it ended up looking like this!
Ha! Too many hexagons but I like the difference it made in my room. I just recently placed the chest drawer against that wall and I thought that it deserved to be upgraded even in a simple way. I just used sticky tack to attach each hexagon shelf to the wall. I love how sturdy it turned out to be. As of posting, and it's been a week now, none of the shelves fell down. Whew.
I know there's a lot to tidy up in the construction part but it was fun to make these and get this kind of result so I didn't care anymore :)) So this is now my new morning view...
And a fun before and after!
I made this tray a few months back (you can view post here) out of a clock box and wrapping paper and it's sitting very pretty in my office.
But lately, I've been struggling with something
If you don't see it, it's the sharpener OP from the rest of the supplies :)) Either I'm that OC, or just wanted an excuse to make this DIY. I recently bought boxes of bond paper and I thought that the box cover was the perfect size to make a new tray.
I've seen this DIY in Pinterest and I wanted to give it a try. Materials you'll need are the following: kraft tape, glue gun and glue sticks, scissors, and some rope. I already had all these materials on hand, so I was able to jump into the project right away.
First is I reinforced the ripped corners by taping them down.
I also taped it up top to make it neat and to conceal the karton / cardboard edge. Below you'll see the edge with and without tape.
While doing this, I thought I was doing what's best for this tray, but later on found out that hot glue does not hold onto kraft tape, or at least the one I was using. During the wrapping process, I ended up removing most of the tape and started hoping for the best (haha). Maybe I can try to use masking or paper tape the next time.
The next step is pretty straight forward. Just hot glue the rope all around your karton box from the bottom. My tip for ends like the one on the photo below, just cut the rope right on the edge and do not hot glue it down the curve. Cutting it will create a cleaner look.
And when you've wrapped the whole thing...
I love how it looks! I always want to buy baskets like these but they're so pricey. I'm happy that the total cost of this project was only the 50 peso rope I bought from Divisoria! I also didn't add the sharpener first, for a prettier photo :))
I added a mason
jar with the lid spray painted rose gold. Pencils are also from
Divisoria. Those are not sharpened and strictly for display purposes :))
Here it is now in my office with all its contents. It's my favorite thing right now. I still have my old tray, but still finding a new use for it.
Aaaaand a happy before and after :)
I've been fixing my room. For almost a year now. And I think it'll be a never ending process anyway :)) I've been wanting to add some wall art and I've been wanting to make a macrame since I bought some rope from Ace Hardware a few months back. I've also been drooling over these photos from Google until I had the chance to make my own.
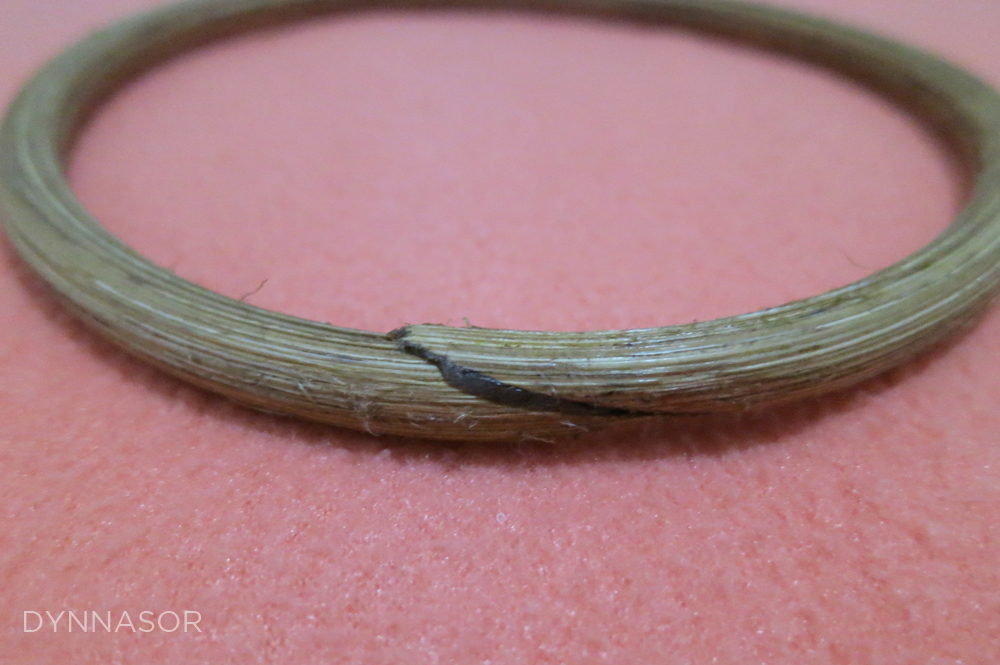
I was actually already able to make this before but I wasn't able to document it. Also, I just used a makeshift rod and it was both the prettiest and ugliest thing in my room for some time. Haha. Fortunately, I was finally able to go to Divisoria again and and I bought a rattan ring. I think my friends were puzzled what I needed that for and this is the answer. Ha.
I've been reorganizing again and again in my room, shuffling furniture around, and I finally want to hang this macrame in this area right here:
This design project is super simple I'm thinking of gifting this to my friends for Christmas :)) Materials needed for this are the following:
The rope from Ace Hardware was kind of pricey at Php200+ if I remember correctly. This rattan ring is only P25 and the adhesive hooks are only less than P30 for 1 set from Japan Home.
The first step I did is optional, but I stained the ring using Bronco Oil Wood Stain in American Walnut. Yes, this is the wood stain I used in all my wood projects (frames, belt hanger, other DIY's that didn't reach the blog, etc. etc) because the can is still full and I think I can use this forever :))
I wanted to transfer the macrame I previously made to the ring but there's no possible way to do it without dismantling the whole thing. So...
I'm using 12 strings, at 80 inches each (I thiiiiiiiink). For the ring, use the ugliest side so it'll be covered up:
Fold your string in half, have the lose end go under the ring, loop and insert to a hoop you created with the non-lose end. Whew. In short, loop your string like this:
Hahahaha I'm now scared how I'll explain the rest of the instructions :))) After looping all 12 strings, you'll have this:
You'll be working with the first 4 strings on the left:
Get your first string, have it go over the next 2 strings, and under the last string like this:
Now get your last string, have it go under the 2nd and 3rd strings (to its left) then insert it to the loop the first string created:
Tighten it and you'll have this:
Continue working with the next 4 strings doing the same process...
And finally...
For the next layer, leave out the first 2 strands, and work with the 3rd to 6th strands.
Continue the process horizontally, leaving the last 2 strands.
Continue doing it until you get tired. Hehe. I chanted "over over under...under under loop" the whole time I was doing this. You might wanna try it also :))
I got bored with the design so I tried experimenting and tried a different pattern but still using the same knots...
Lastly, I cut off some excess strands, and you're done yaaaaay
Just hang it on the adhesive hook (which needs 24 hours before hanging anything on it)
Yaaaay. I'm now looking for other excuses to make more of these haha! :)