Showing posts with label DIY office. Show all posts
Friday, February 5, 2016
DIY Rope Basket
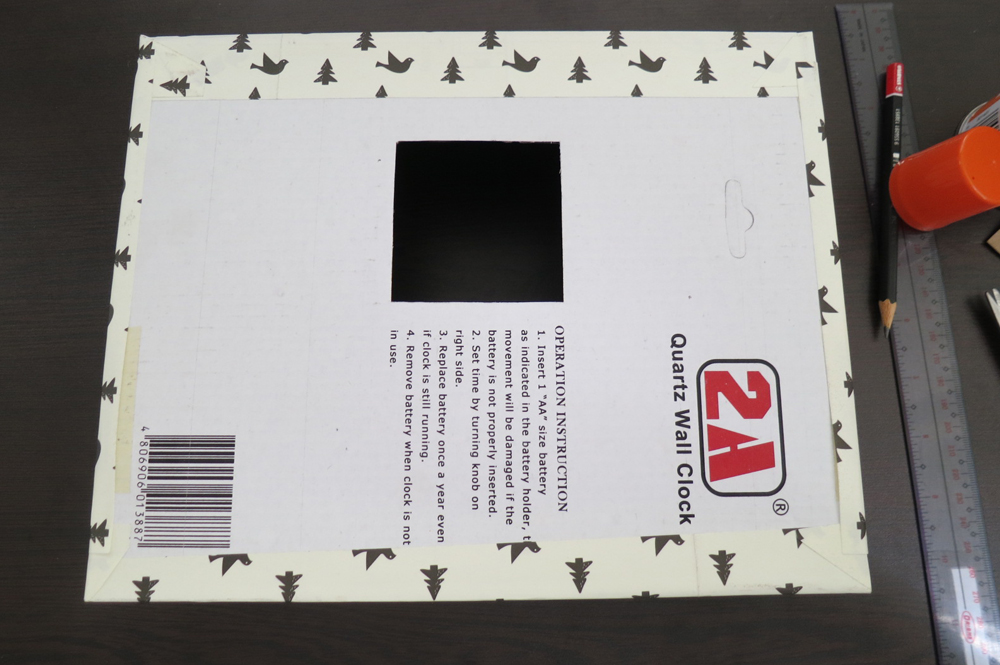
I made this tray a few months back (you can view post here) out of a clock box and wrapping paper and it's sitting very pretty in my office.
But lately, I've been struggling with something
If you don't see it, it's the sharpener OP from the rest of the supplies :)) Either I'm that OC, or just wanted an excuse to make this DIY. I recently bought boxes of bond paper and I thought that the box cover was the perfect size to make a new tray.
I've seen this DIY in Pinterest and I wanted to give it a try. Materials you'll need are the following: kraft tape, glue gun and glue sticks, scissors, and some rope. I already had all these materials on hand, so I was able to jump into the project right away.
First is I reinforced the ripped corners by taping them down.
I also taped it up top to make it neat and to conceal the karton / cardboard edge. Below you'll see the edge with and without tape.
While doing this, I thought I was doing what's best for this tray, but later on found out that hot glue does not hold onto kraft tape, or at least the one I was using. During the wrapping process, I ended up removing most of the tape and started hoping for the best (haha). Maybe I can try to use masking or paper tape the next time.
The next step is pretty straight forward. Just hot glue the rope all around your karton box from the bottom. My tip for ends like the one on the photo below, just cut the rope right on the edge and do not hot glue it down the curve. Cutting it will create a cleaner look.
And when you've wrapped the whole thing...
I love how it looks! I always want to buy baskets like these but they're so pricey. I'm happy that the total cost of this project was only the 50 peso rope I bought from Divisoria! I also didn't add the sharpener first, for a prettier photo :))
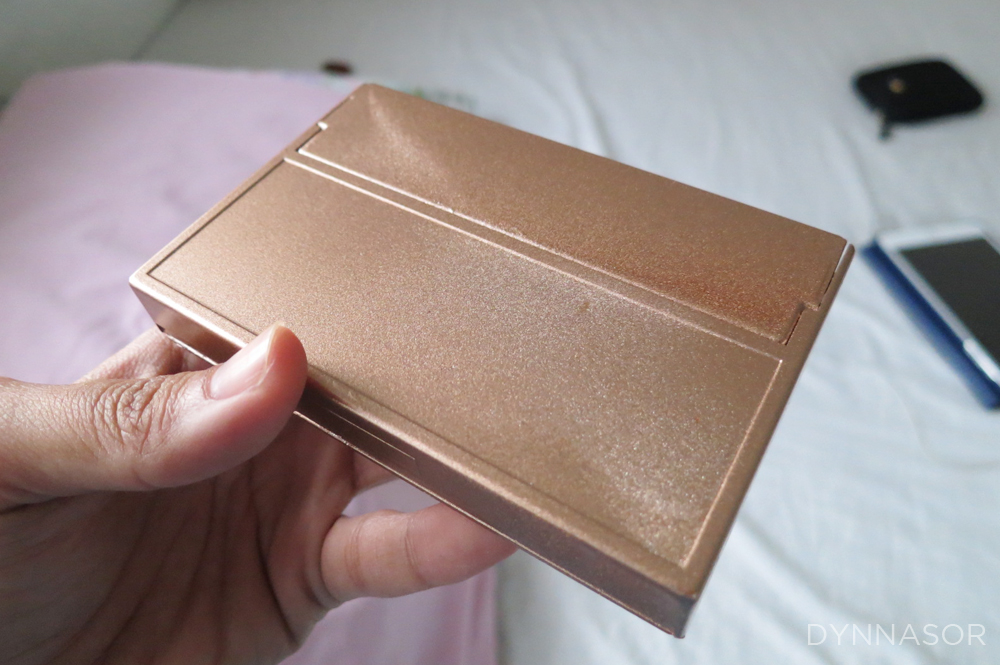
I added a mason jar with the lid spray painted rose gold. Pencils are also from Divisoria. Those are not sharpened and strictly for display purposes :))
Here it is now in my office with all its contents. It's my favorite thing right now. I still have my old tray, but still finding a new use for it.
Aaaaand a happy before and after :)
Wednesday, August 26, 2015
DIY Phone Stand
For someone who watches YouTube on their phone a lot, this is such a helpful and efficient way to re-use a nearly (or is it already) extinct object. When I saw this on Pinterest, I thought it's a really cool idea. I immediately rummaged for an old cassette tape and made one for myself, upgrading it with spray paint, of course! :)
Totally old school. And what's funny is that the tape inside didn't match the album cover. I wonder where Bette Midler's tape is right now :))
I took it outside to be painted. A few thin coats and numerous YouTube videos while waiting for it to dry.
And theeeeeeeeen
Super duper happy how simple this is, how pretty it turned out, and how useful it is!!!
I'm pretty sure bigger (and smaller) phones will still fit the slot. Makes this product 10x better!

It looks pretty even without a phone on it. I have heart eyes right now I swear.
Friday, July 24, 2015
DIY Favorite: Wrapping Paper
One of my favorite materials when DIY-ing is wrapping paper. I got a wrapping paper book last year from Divisoria and I already used it to make a vanity tray. And like any other DIY / organizing girl, I wanted another tray (or maybe a hundred more haha) and I also upscaled my mouse pad to match. Materials are pretty simple too - wrapping paper, scissors, a pen, and spray adhesive is all you'd need. I also used (a DIY-because-we-don't-have-it-here-in-the-Philippines) mod podge but that's optional.
For the tray, I used a clock box this time. I love how sturdy it is compared to a shoebox lid. The process is pretty straight forward :)
I made it smaller to fit my office supplies better.
I completely and neatly covered the sides.
And covered the inside and the bottom with plain craft paper.
I was pleased with the finished product. Although, I could see some of the print through the wrapping paper I used. So for the mouse pad, I spray painted it first before wrapping it.
The top of course looked okay but when I flipped it...
Since it's just the bottom part and will almost never be seen, I didn't want to wrap it with pretty paper all the way through. I recycled a paper bag instead.
Now it looks neat :)
Oh yes, I really like it! :)
Here's the before and after shot!
I love how small and quick projects like this can make someone happy. Haha. I was scared to use the pretty papers at first thinking baka masayang but I think I'll use them up more easily now. Yay for wrapping paper! :)
Tuesday, May 12, 2015
DIY Updated Office Board
I needed a board for my office. I wanted something to stick notes on - either a cork or magnetic board, plus something to write on - either a chalk or dry erase board. I searched the web for some DIY inspiration.
![]() | |||
| via |
![]() |
| via |
As we were purging a lot of stuff in our school, I stumbled upon this piece
(If this belongs to any of my siblings, I'm sorry I took over it already, and thank you!) Well, it wasn't as stylish as I was hoping for but it had all the function I required.
I was okay with the wood finish. But I knew I had to update it since the cork part isn't usable anymore. And since I'm gonna do some upgrading, I thought why not go ahead and paint it as well. And that's what I did.
I covered the whiteboard area with craft paper and secured all the edges with masking tape. I didn't bother covering the cork anymore since I will cover it with another sheet. From scrap cork, of course.
I didn't sand or prime. I just wiped it clean and spray painted away.
For the cork sheets, I just used scraps and attached them to get the size I need. I used spray adhesive to bond it to a cardboard.
I then completely covered it with burlap. I used spray adhesive for the front, and stapled the back. It was really simple.
And then I just used spray adhesive again to attach the whole thing back to the board. I don't know how long it will hold but if ever it comes off, I might use rugby to attach it again.
The black goes well with the spray painted pineapple juice cans I used to hold my pens.
I think a simple fix went a long way. I can't wait to hang this above my table!
I'm the type who always leans towards simple and less design as possible. Any person could do something completely different, design wise, but this is really perfect for me and my space. Again, this project cost me nothing, and that's probably one of my favorite things about my projects lately. Although, I'm already running low on burlap...haha.
I am so happy and excited how our simple office renovation gives me a lot of opportunities to make small projects and DIY's. I know it's probably going to take me months to complete my space but each little step is so fulfilling given that I made them.
Tuesday, May 5, 2015
DIY: Reupholstered Office Chair
Finally posting my first DIY for my tiny office! My office chair definitely
needed some updating. I found a tutorial from HGTV Handmade Youtube channel and
since then, I couldn’t wait to dismantle my chair. Haha. Here’s what it looked
like before:
The fabric I used was once a dress I thrifted and I only bought it because I liked the
print. And the fact that it only costs P30.00 was a no brainer. I kept it in my
closet waiting for the perfect opportunity to fabricate (put fabric HAHAHA)
something. I was thinking I’ll probably do a bulletin board or pillow but then it
got to me, this was finally it, pancit!
I disassembled the chair. It was actually my very first time to unscrew
something and it was fairly easy haha. The tutorial I found just reupholstered
over the original fabric and that’s what I did.
Measure and cut the amount of fabric you’ll need and staple away. I only
used an ordinary office stapler for this one.
When I was finished, I tried putting it in its backing and it wouldn’t fit!
Also, I realized that the foam was sooooo dirty so my mom helped me and washed
it. I did it also for the larger piece. We let it dry overnight and did my best
to keep my excitement for another day.
While letting the foams dry, I went ahead and removed the remaining
fabric and staples at the back of the ply woods. It was really hard to remove
them and I think I used every tool possible. In the end, I still wasn’t able to
remove all but I think I was able to take out most of it.
The next day, of course I proceeded with my upholstery.
The back doesn’t look neat at all, but the end result was very nice!
Here it is screwed into the backing and its stem.
Let’s not forget the before and after photo which never fails to plaster
a permanent smile on my face!!!
An additional update I did was spray painting it to white. I would lie if I say I super love the outcome. But I guess that's part of DIY-ing. Trying and testing and learning from your decisions. Anyway, this was the process:
Unscrew everything again, lay it down on some scrap boxes or paper, wipe everything clean, and spray paint away. I have no idea yet about priming and fixating so this is the only process I did. I applied 3 coats of paint and it was able to fully cover it.
Once the paint dried, I tried to fit the upholstered foam right away. Sino excited? :)))
I had a really big booboo for the back part. The plyboard and foam won't unscrew anymore so I tried my best to insert pieces of paper between the foam and the portion I'm about to paint. And well, though I was able to paint it, it didn't turn out as nice as the bigger piece. And it failed big time I can't even show it to you :(
But I can show you more photos of the back! HAHAHA.
I'm sorry for the messy background. But that's real life. Haha.
I would have wanted to also remove the adjusting rings below (whatever you may call it) but I have no idea how to remove them so I had to live with it. Overall, I'm happy with the result. I don't know if I'll reupholster some more in the future but I think this was already a good start. Now for the rest of my office. Yay! :)
Subscribe to:
Posts (Atom)